

 ▶ Watch on YouTube
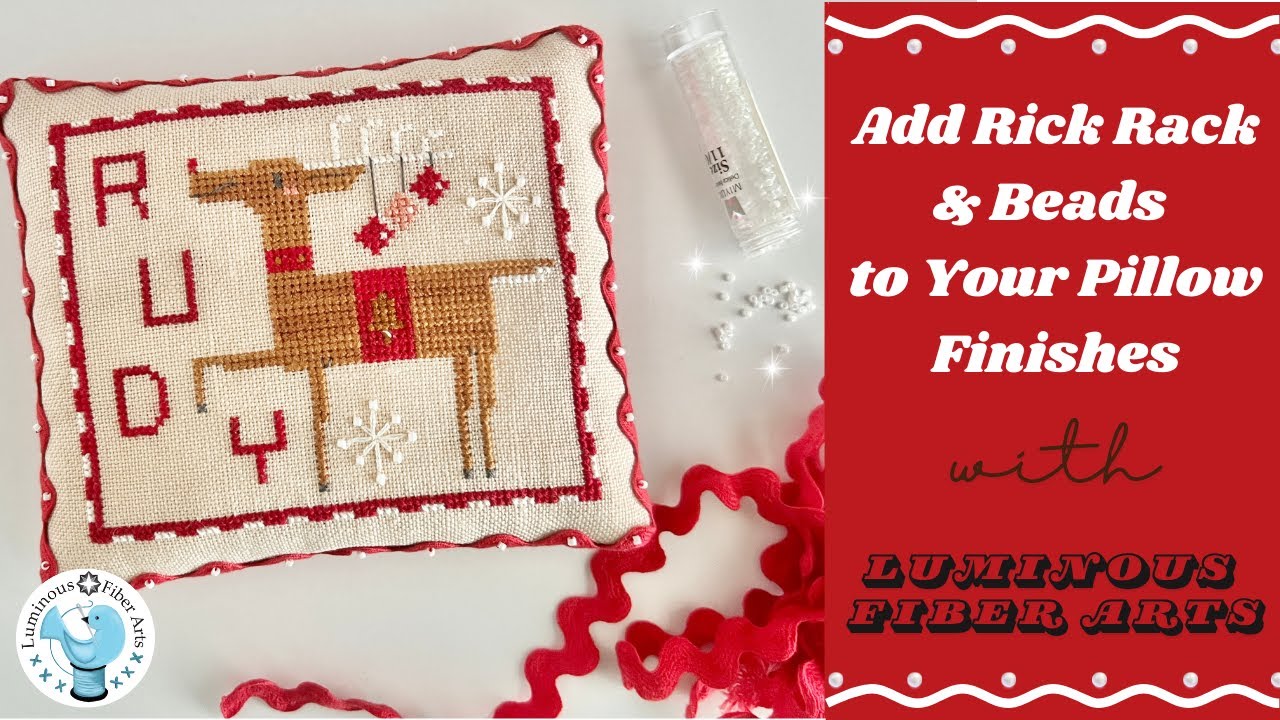
Flosstube Tutorial: Adding Rick Rack & Beads to a Pillow Finish
Summary AI
We’re not summarising older videos yet. Open it on YouTube to watch, or read the description below.
▶ Watch on YouTubeWe’re not summarising older videos yet. Open it on YouTube to watch, or read the description below.
Level up your cross stitch finishing with these simple steps to sew rick rack and beads to your pillow finishes!

Video Links:
Delivering Holiday Cheer Pattern: https://www.luminousfiberarts.com/

Get early access to tutorial videos, great tips, inspiration, and behind the scenes peeks! Be the first to know when new patterns and kits are in stock! Join my newsletter: https://view.flodesk.com/pages/61e0a8aa4cfe7529d668a90c

Supply List:
Half inch wide cotton rick rack trim—I love trim by Lady Dot Creates
Steam Iron (I have Shark Professional, which doesn’t seem to be manufactured any longer)
Ironing board
Size 11/0 seed beads (brand doesn’t matter—I personally prefer a finish on the bead that is metallic/pearlescent)
Cotton sewing thread to match your rick rack trim (I like Mettler and Gutermann)
Toothpick (optional)

Additional supplies available via Amazon.
As an Amazon Associate, I earn a small fee from qualifying purchases:

Karen Kay Buckley Perfect 6” Scissors (great for everything and I love it for wool and felt) https://amzn.to/45cxX5M

Dritz Glass Head Sewing Pins https://amzn.to/45dZBQ6

John James Assorted Sewing Needles https://amzn.to/3OFT89z (make sure your sewing needle can fit all the way through your beads)

Alene’s Tacky Glue https://amzn.to/3ZAnLCz

Music:
Sunshine Samba by Chris Haugen