
 ▶ Watch on YouTube
Cross Stitch Pillow Finishes with "Ruching" - on FlossTube
Summary AI
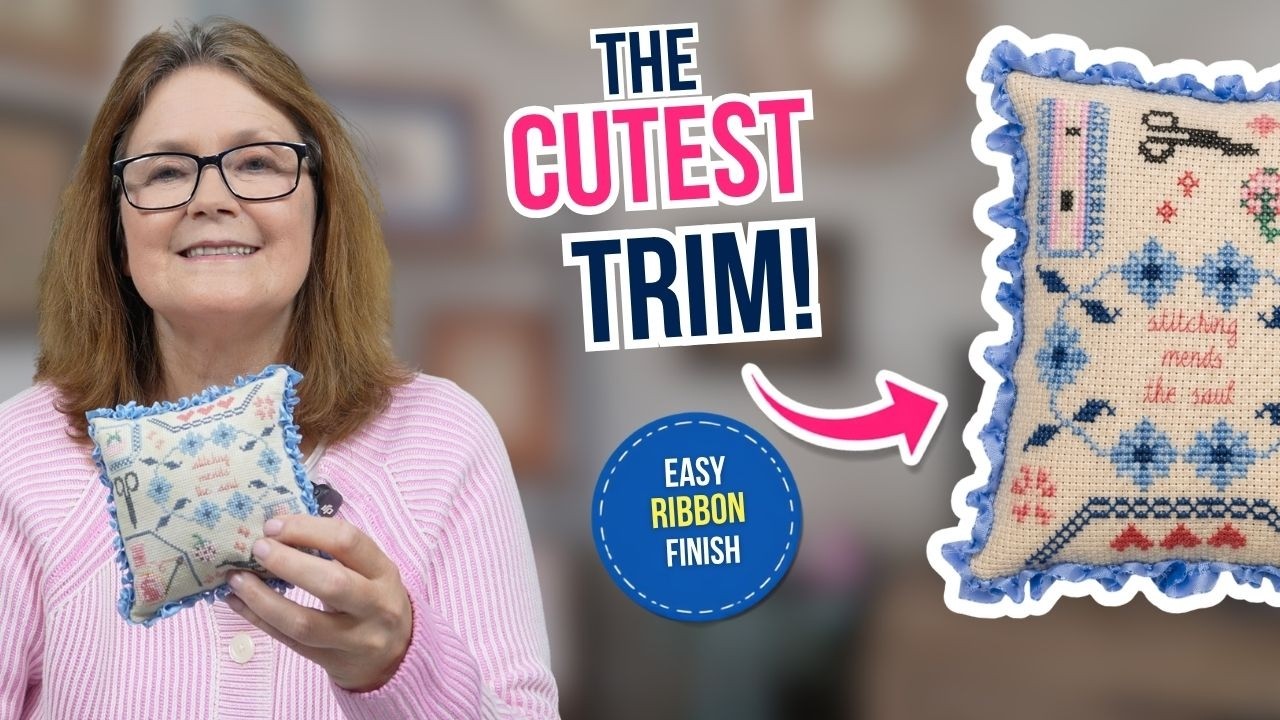
Joanne from 123stitch.com presents a step-by-step tutorial on how to add a ruched ribbon trim to cross stitch or embroidery designs, finishing a small pillow with the technique. She explains the supplies needed, including a sharp needle, matching thread, and ribbon, and demonstrates how to attach, fold, and gather the ribbon along the seam, including around corners. The tutorial also covers starting a new thread, using two ribbon colours for a different look, and finishing off neatly. Joanne emphasises that the result is meant to look uneven and messy, making it an easy and forgiving finish for small projects.
- Step-by-step demonstration of creating ruched ribbon trim on a cross stitch pillow.
- Tips on choosing supplies, including sharp needles and matching thread.
- Shows how to work around corners and start a new thread mid-project.
- Explains how to use two ribbon colours together for themed designs.
- Emphasises that the finish is meant to look uneven and doesn't need to be perfect.